Roller doors are a cost-effective access solution used on countless homes throughout the country. Made from durable Colorbond® steel, they are built to withstand Australia’s harshest conditions and provide secure and reliable access for many years to come.
This month, we’d like to share a helpful tip on how to extend the life of your existing roller door by taking a quick look a little-known but very integral roller door component – weather seal.
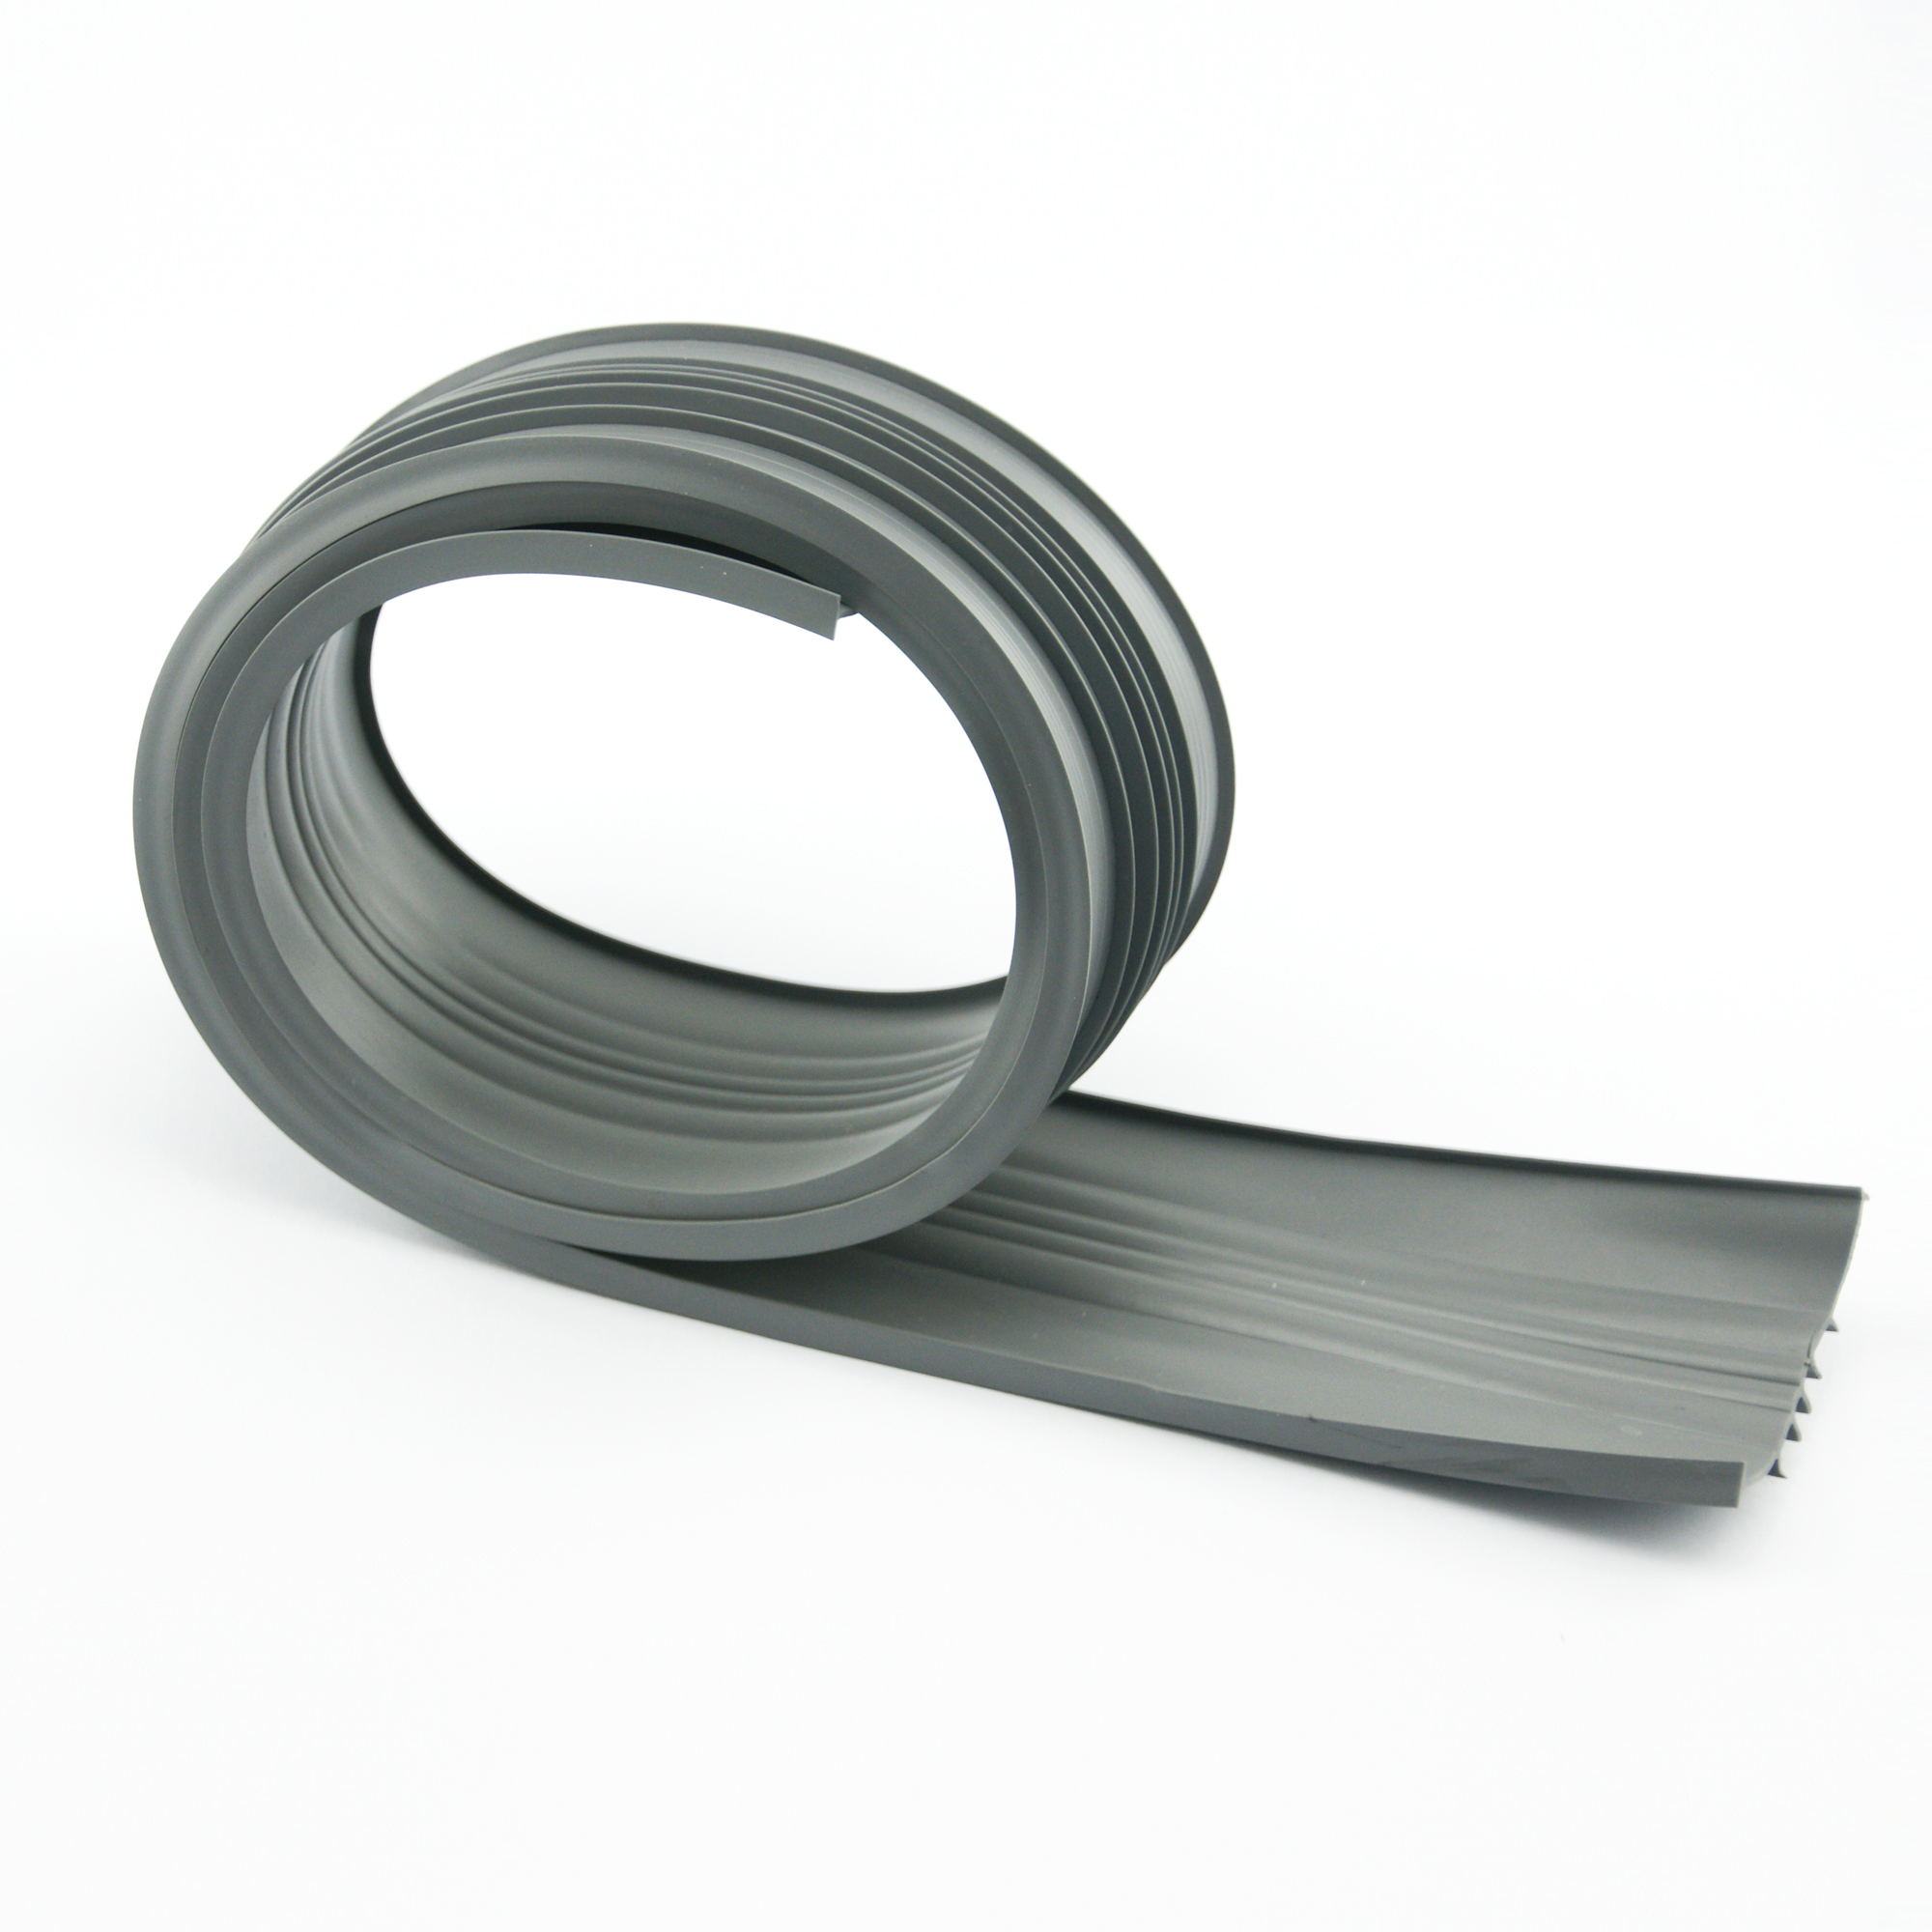
The weather seal runs along the bottom of your roller door and helps to cushion the weight of the door when hitting the ground, as well as keeping debris and most water out of your garage. Made from PVC, this seal protects your home from the elements – but like everything else, it too can succumb to the pressures of time!
Prolonged water and sun exposure can cause the weather seal to break down, allowing cracks to form that can lead to rainwater leaking in, leaves collecting in your garage and small uninvited guests entering your home.
Should you find yourself in this position, the following steps can help you resolve the issue and breathe new life into your roller door:
- Replacement weather seal can be purchased from your roller door manufacturer. Gliderol weather seal can be purchased via your local Gliderol office and is available online in our eStore. Lengths are sold per lineal meter to suit your needs.
- Once you have your replacement seal, raise your door to the open position.
- With the door fully open, remove one (1) wall mounted track so that you can access the end of the bottom rail on your roller door.
- If your door is automated, switch it into manual mode by flipping the red Manual Release Lever located at the end of your roller door. Instructions and a ‘how-to’ videos are available to assist in this process. Once in manual mode, gently move the roller door by hand to approximately hip height. After taking note of how the seal folds into the bottom rail, remove and dispose of the old weather seal.
- With a second person to assist you, apply some warm soapy water to the bottom rail – this will lubricate the grooves of the rail, making it easier for the new seal to slide into place.
- With one person feeding the seal into the bottom rail, a second person can pull the weather seal through to the other end of your door, applying additional warm soapy water as needed.
- Once in place, trim your weather seal to length. Leave a small amount overhanging on each side to allow for your weather seal to shrink over time.
- Return your door to the open position and replace the previously removed track.
- Feed your door curtain back into the top of the track. If automated, put your door back into automatic mode by returning the Manual Release Lever to it’s original position.
- Your door is now refreshed and ready to use!

